Sparkle Up Your Space: Easy DIY Sequin Vases & Centerpieces
Are you ready to infuse a touch of glamour and personalized charm into your home decor without breaking the bank? Look no further than the enchanting world of the
diy sequin vase. These dazzling creations are not just simple craft projects; they're an affordable ticket to transforming ordinary objects into extraordinary statements. Whether you’re dreaming of a vibrant centerpiece for your dining table, a shimmering accent for a spring mantel, or unique decor for an upcoming celebration, a sequin vase promises instant pizzazz and a whole lot of sparkle. Forget expensive boutique finds; with a handful of supplies and a sprinkle of creativity, you can craft truly unique pieces that reflect your style.
Why DIY Sequin Vases Are Your Next Must-Try Project
The allure of the
diy sequin vase lies in its compelling blend of simplicity, cost-effectiveness, and undeniable visual impact. Imagine turning a humble dollar-store find or a forgotten Mason jar into a radiant focal point. This isn't just a craft; it's an intelligent decor hack that yields professional-looking results for a fraction of the cost.
*
Budget-Friendly Brilliance: One of the greatest advantages is the minimal investment required. Clear cylinder vases can be snagged for as little as a dollar, and sequins, even in generous craft store packages, remain incredibly affordable. This means you can create multiple stunning pieces without straining your budget, making them perfect for event decor where quantity matters. For more budget-friendly ideas, check out our guide on
DIY Sequin Vase: Create Stunning Decor for Under $5.
*
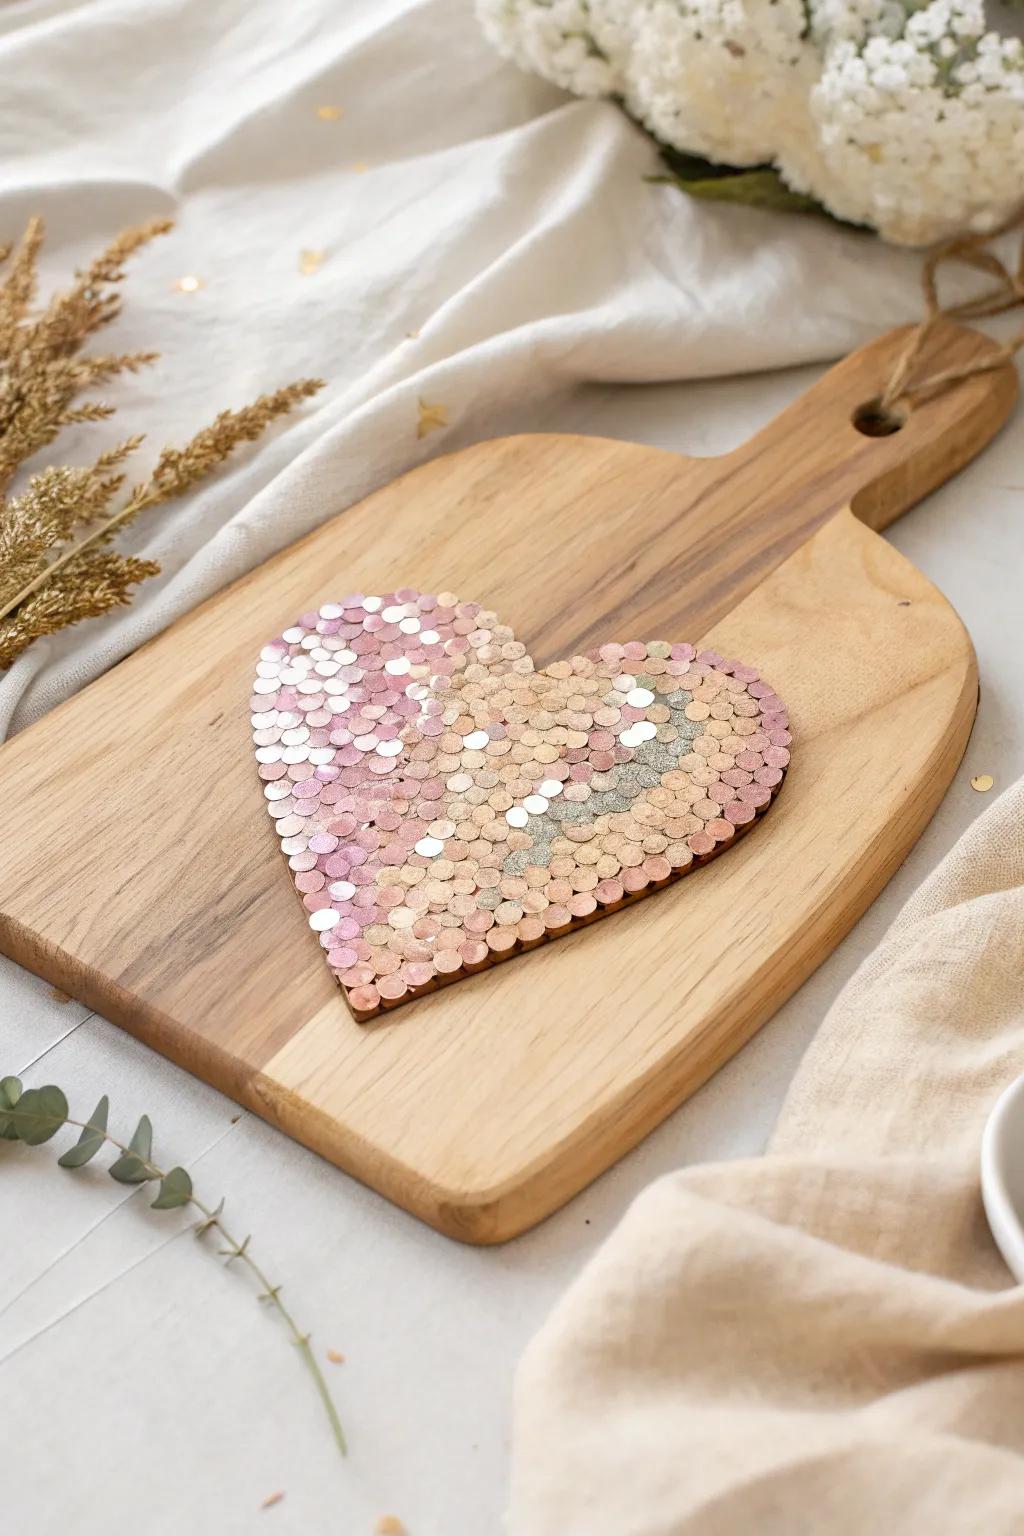
Versatility Unleashed: While "vase" is in the name, the possibilities extend far beyond holding flowers. These sequin-adorned beauties make exquisite candle holders, particularly smaller Mason jars perfect for tea lights. They can serve as glamorous pen holders on a desk, elegant utensil caddies for a party, or simply standalone decorative accents that catch the light and the eye.
*
Effortless Elegance: You don't need to be a seasoned crafter to achieve impressive results. The core techniques are straightforward, involving basic gluing and sequin application. The beauty of sequins is their ability to elevate even the simplest object, turning ordinary into extraordinary with minimal effort.
*
Instant Mood Lifter: There's something inherently joyful about shiny things. A sequin vase instantly adds a festive, celebratory, and undeniably cheerful vibe to any space. It’s a guaranteed way to inject personality and a touch of modern glam into your home or event decor.
Gathering Your Glittery Arsenal: Essential Supplies
Embarking on your
diy sequin vase journey requires a few key items. The beauty is that most can be found at your local dollar store, craft shop, or even repurposed from items you already own.
*
The Base (Your Vase):
*
Clear Cylinder Vases: These are a popular choice due to their simplicity and wide availability at dollar stores. Their smooth surface is ideal for sequin application.
*
Mason Jars: A fantastic option, especially for a vintage-inspired look. Smaller Mason jars are perfect for tea lights or single-stem flowers. Don’t shy away from colored Mason jars if you can find them – beautiful blue or green jars can add an extra layer of charm, even before the sequins.
*
Other Ordinary Objects: Think outside the box! Any glass jar, an old wine bottle, or even a ceramic pot could be a candidate for a sequin transformation.
*
The Sparkle (Your Sequins):
*
Variety is Key: Don't limit yourself to one type. Grab a mix of sizes (smaller and regular), colors, and finishes (iridescent, metallic, matte). Mixing them can create a richer, more textured effect.
*
Quantity: It's always better to have a little extra. One or two packages are usually sufficient for a single vase, depending on coverage preferences.
*
The Adhesive:
*
Hot Glue Gun & Glue Sticks: Excellent for exterior application, especially when you want precise placement or a quick dry. Exercise caution with the heat!
*
Mod Podge or Crafting Glue (e.g., Elmer's): Ideal for interior application or when you want a more seamless, brushed-on finish on the exterior. Mod Podge also doubles as a sealant.
*
Tools:
*
Paintbrush: Essential for applying thin, even layers of Mod Podge or craft glue.
*
Scissors: For prepping flowers if you're creating a centerpiece.
*
Gloves (Optional): Can help keep your hands clean, especially with sticky glues.
Step-by-Step Sparkle: Crafting Your Own Sequin Vase
The method you choose for your
diy sequin vase will largely depend on whether you want the sequins on the exterior or interior, and the type of glue you prefer. Both methods yield stunning results, each with its own unique charm.
Method 1: Exterior Sequin Application (Hot Glue)
This technique is fantastic for creating defined patterns, stripes, or achieving full, dense coverage on the outside of your vase.
1.
Prepare Your Surface: Ensure your vase is clean and dry. Any dust or residue can prevent proper adhesion.
2.
Apply Glue in Sections: Working in small sections, or even row by row, apply a thin bead or dot of hot glue. Hot glue dries quickly, so don't apply too much at once.
3.
Place Sequins: Carefully press individual sequins onto the hot glue. You can overlap them slightly for a dense, fish-scale effect, or space them out for a "less is more" scattered look. Many crafters find that after a few rows, a simple, clean, and sparkly pattern is often the most elegant.
4.
Experiment with Coverage: Do you want full sequin coverage, or just a band of sparkle around the top or middle? Experiment! A partial covering can be incredibly chic and allows the vase material to peek through.
5.
Dry & Admire: Hot glue dries almost instantly, so your sparkling creation is ready for display as soon as you're done!
Method 2: Interior Sequin Application (Mod Podge/Craft Glue)
This method creates a beautiful, diffused shimmer from within, perfect for vases that will hold water and flowers, allowing the sequins to softly reflect through the glass.
1.
Clean Your Jar: Again, ensure the inside of your Mason jar or vase is perfectly clean and dry.
2.
Apply Thin Glue Layer: Using a paintbrush, apply a thin, even layer of Mod Podge or craft glue to the inside bottom and sides of the vase. You don't want it too thick, as this will prolong drying time.
3.
Sprinkle & Shake: Pour a generous amount of sequins into the glued vase. Then, gently shake and rotate the vase, allowing the sequins to stick to the glued interior walls. You can add more glue and sequins as needed to achieve your desired coverage.
4.
Crucial Drying Time: This is perhaps the most important step for interior application. Let the vase dry *completely* – ideally overnight, or for a full 24 hours. Resisting the urge to fill it too soon is key, as wet glue will cause sequins to detach and float. Patience here prevents re-drying headaches!
5.
Ready for Use: Once thoroughly dry, your vase is ready to be filled with water, flowers, or even used as a decorative container. When water is added, some sequins might loosen and float, creating an ethereal, dynamic effect that many find beautiful.
Elevating Your Decor: Sequin Vases as Stunning Centerpieces
Once your sparkling `diy sequin vase` is complete, the fun truly begins in styling it! These pieces are natural showstoppers and can elevate any arrangement.
*
Floating Flower Extravaganza: One of the most enchanting and cost-effective uses is creating a floating floral centerpiece. Simply fill your dried sequin vase with water. For flowers like roses, gently snip the stem just below the head. Float the bloom face-up on the water's surface. This technique not only looks luxurious but also extends the life of fewer flowers, making it incredibly budget-friendly for parties and events.
*
Ambient Candle Holders: Small sequin-adorned Mason jars are absolutely divine as tea light holders. The sequins catch the candlelight, casting a warm, glittering glow that adds instant ambiance to any room or outdoor setting.
*
Seasonal & Holiday Flair: Adapt your sequin vases for different seasons. Use gold and silver sequins for holiday tables, pastel sequins for spring brunches, or even themed colors for specific parties (like pink and glamorous for a birthday party, as seen in some inspirations).
*
Party Perfect Decor: From birthdays to weddings, baby showers to anniversaries, sequin centerpieces are a dazzling addition. Their inexpensive nature means you can create several uniform pieces for a cohesive, high-end look without the high-end price tag. If you're looking to explore more creative ways to upcycle common items, especially Dollar Tree finds, dive into
Transform Dollar Tree Vases: Simple Sequin Craft Ideas for inspiration.
Pro Tips for Dazzling Results & Lasting Sparkle
*
Experiment with Sequin Types: Beyond color, consider iridescent sequins for a rainbow shimmer, cupped sequins for more dimension, or flat sequins for a sleek finish. Mixing them adds depth.
*
Consider Vase Shape: A wide-mouthed vase is easier for internal sequin application and arranging flowers. Taller, narrower vases are great for single stems or dramatic accents.
*
Patience with Drying: We cannot stress this enough for internal glue methods. A full 24 hours ensures everything is set and prevents sequins from shedding when water is added.
*
Layering for Effect: If using exterior hot glue, try layering sequins of slightly different sizes or colors to create an ombre or textured effect.
*
Cleanliness is Key: Ensure both your vase and workspace are clean to prevent dust or debris from getting stuck in your glue and sequins.
*
Safe Crafting: Always supervise children when using a hot glue gun, and ensure proper ventilation if using spray adhesives or sealants.
The journey of creating a
diy sequin vase is not just about the finished product; it's about the joy of crafting, the satisfaction of transforming the ordinary, and the sheer delight of adding sparkle to your world. These inexpensive, beautiful, and utterly charming floral arrangements and centerpieces are a testament to the power of a little imagination and a lot of shine. So grab your supplies, get creative, and prepare to dazzle your guests and yourself with these delightful decor elements.